Total Pageviews

Search This Blog

Wednesday, February 23, 2011

Where can I find Beediverse Products at the Flower and Garden show in Seattle?

Here is Jim Tunnel(with cap), owner of Beez Neez explaining mason bees to 3 customers.


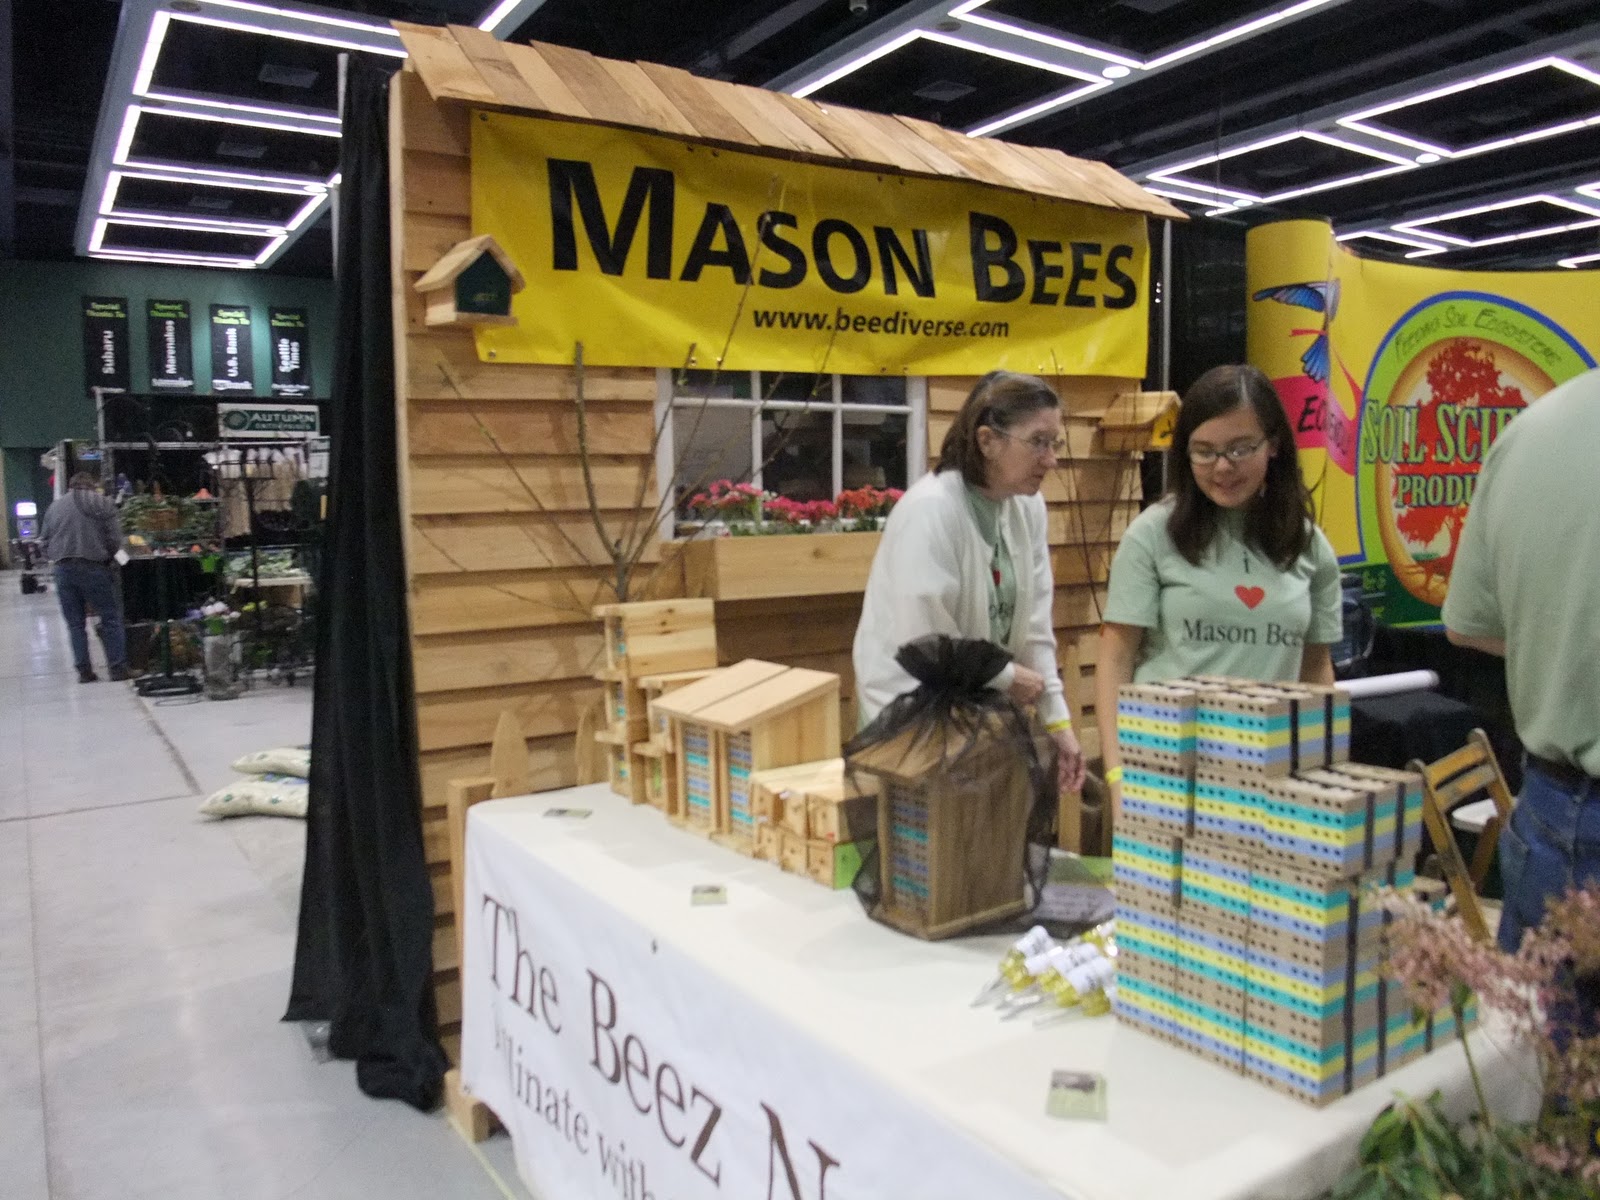
We are at the Beez Neez booth. Go to Row 2200 and you will find us with a bright yellow MASON BEE banner.  See you at the show.

Tuesday, February 22, 2011

Setting out cocoons using a Royal, Lodge or Chalet

The reason for setting out cocoons within the protection of a house that shelters nesting tunnels, is to provide the cocoons, and the mason bees inside, a place that is protected from predators like mice, protected from the sun and protected from rain and snow.

It depends on the design of the house whether cocoons can simply be set within the house, like underneath the roof of the Highrise or whether space needs to be created for the vial like in the Starter Cottage.

Royal house with predator guard

Temporarily remove predator guard from the front of the Royal house,
and set vial on its side, with tab removed,  underneath peaked roof.
 Replace predator guard.
The Royal house is similar to the Highrise.  Simply remove predator guard, and set vial on its side underneath the peaked roof.

If you have a Lodge- without the predator guard, or the Chalet with a predator guard, space needs to be created for the vial containing cocoons.  Remove one set of trays, insert vial above trays and replace vial with tray when all bees have emerged.

Lodge without predator guard.
Chalet with predator guard.


Unwrap bundle of nesting trays by removing electricians tape.  Remove
one set of trays, and re-tape remaining nesting trays.
The vial can now be inserted under the roof and adjacent to the nesting tunnels.

Replace the predator guard of the Chalet after vial has been set
inside the house.  When all bees have emerged- about 2 weeks
after first bees emerge, remove vial, tape up the individual tray
 and set above other trays.


Setting out mason bee cocoons in a Beediverse Starter Cottage

If you buy a vial of Beediverse Mason Bee cocoons
from a store, the cocoons need to be set it out adjacent to mason
bee nesting tunnels.  Cocoons are
washed, screened and candled before packaging them into vials.
If you have a Starter Cottage
 with cardboard tubes it is best to set the vial of
cocoons inside the cottage amongst the nesting tubes.

Temporarily remove front door to access
cardboard tubes.


Remove a few cardboard tube to make room for one vial
containing mason bee cocoons.
Remove red tab covering the exit hole of the vial, and place
vial amongst tubes.

Replace front door and hang Starter Cottage on an East facing wall,
 in the sunshine and out of the rain.  This cottage can also be
 set down on a shelf.  Make sure it is secure so the wind
or predators do not knock it off the shelf.

Saturday, February 19, 2011

Setting out mason bee cocoons in a Beediverse Highrise

Retail stores sell Beediverse mason bee cocoons in snap-cap vials.
Cocoons were harvested from nesting tunnels and cleaned. 

The Highrise contains Eco friendly Corn Quicklock nesting trays.
Setting cocoons above nesting tunnels makes it easy for bees to find their new nests.
Remove red tab that covers the vials's exit hole,
and lay vial with cocoons in the attic and underneath
the roof.of the Highrise.


Loose cocoons harvested from nesting tunnels can also be placed
underneath the roof of the Highrise-"the attic"
Move cocoons towards the back. of the Highrise
so they dont roll out the exit gap.
Drop roof over attic in readiness for spring.

Sunday, February 13, 2011

Emergence box and nests


Dave M.'s emergence box with nests on either side.
Emerged males are clustered on the outside of the emergence box waiting for females to emerge.


Close-up of emerged males on the outside of the emergence box.  Emergence hole of the box is visible below the hook.
The white clay  spots on the front of the emergence box are the first signs that bees have emerged.  Bees defecate this material as soon as they emerge. 

Dave uses stacked pieces of routered wood as nesting tunnels.  The emergence box removes the problem of predation during emergence.  Photo credits  Dave M.  Port Alberni.

Mason bees on Apple flower

A mason bee on an apple flower.  A great pollinator of spring blossoms 
when inclement weather is a common occurrance.
Photo credit- Dave M. Port Alberni, BC.

Honey bee and Mason bee on Dandelion Flower

This is one of my favorite flowers!  Dandelions are a welcome color in the spring and they are a great source of both nectar and pollen for bees and other insects.  


Most gardeners believe dandelion flowers are a nuisance weed and therefore it has to be removed from their green lawn.  


If a gardener provides lots of flowers, more bees are in the garden and it generally means better pollination for fruit trees.


This honey bee (left hand side) and mason bee are too busy feeding on a dandelion flower to notice
the photographer Dave M.  Port Alberni, BC.
 

Saturday, February 12, 2011

Bumble bees in bird house

Kathy- Langley, BC sent me these photos of a bumble bees nesting in a bird house last spring. 

This is not an uncommon occurrance.  Bumble bees will nest in the ground, in a wall, in a bird house or other structure that will keep the weather out.  Bumble bees nest within insulation, grass or other similar materials.

Birds bring nesting materials like moss and grasses into their bird house and leave after their young have hatched. 
"When you see them up close they have an incredible amount of pollen on their back legs.  The opening into the bird  house is 1 1/4" so you can see how huge they are."


Underneath the moss is a bumble bee colony.  One bumble bee guard is walking on the surface of the colony.

This is a guard- watching out for predators.


Bumble bee on the left is cooling the colony with its wings.  The bumble bee on the right seems to be ready to go and gather more pollen and nectar for the young bees.


Coming in for landing.


Resting after a long flight.


Making room for a larger colony by removing excess moss material.


Wednesday, February 9, 2011

Setting out summer mason bee cocoons in a release box


Summer mason bees removed from their Quicklock-Corn nesting tunnels.
This bee uses masticated leaf material as partition material.
 In the fall, when you find summer mason bee cocoons inside your nesting tunnels, the simplest is to clean out the other nesting tunnels and setting the nesting tray back, with the summer mason bee cocoons, in their wooden shelter ready for next spring.

Summer solitary bees in a wooden nesting tray.

Beediverse Emergence Shelter


Emergence nesting boxes made
by Dave M. of Port Alberni BC.


An alternative is to gently remove cocoons with a scoop (these cocoons are more fragile then the relatively sturdy mason bee cocoons) and lay them into a emergence box like the one Dave M. from Port Alberni made or into the Beediverse Emergence Shelter (www.Beediverse.com).

By removing these cocoons from their nesting tunnel, you are freeing up valuable nesting space for other nesting bees in spring and summer.
Summer mason bee cocoons placed into a Emergence/Release box, after removal
from nesting trays.

Tuesday, February 8, 2011

Nest Placement-East facing

Quite a few new mason bee enthusiasts have asked me about nest location.

The best location for nests optimally includes the following:

1) East facing-bees can warm up early in the morning
2) Sunny-warmth provides adult mason bees energy to fly and provides warmth for larvae to eat.
3) Underneath over hang- protects nest and bees from getting wet.

If you don't have all three factors at any one location, you may have to make a choice.

You may want to try nests at different locations.  This will tell you which is the best location for the bees.

For more detailed information see my book "Pollination with Mason Bees"  pages 31, 49-50.

Friday, February 4, 2011

Unsuccessful development of young mason bees


This nesting tray contains 5 nesting tunnels.  The upper nesting tunnel contains cocoons with a mud partition between each cocoon.  The mud plug at the left hand side of the nesting tray indicates the entrance /exit.  The larger or female cocoons are at the back of the tunnel (RHS).  Note in the next two nesting tunnels, there are quite a number of compartments, not with a cocoon, but with a pollen lump.

The presence of a pollen lump means that the bee larvae died and did not continue its development into an adult bee.  This can be caused by disease, but can also be caused by cool weather.  Young bees need warmth to feed.  A two week spell of cold weather usually means the demise of these bees.  Unfortunately in this case, the pollen lumps were at the far end of the tunnel and these are the female bees.

This year, many people were not able to produce many mason bee cocoons.  I am sure the weather played a big part in this story.

Harvesting cocoons-with scoop and bucket


Scoop tool

Scoops are modified screwdrivers and are a boon to harvesting cocoons.

The angle (more like a sine curve) of the scoop ensures that the tip of the scoop slides under each cocoon and lifts them out of each nesting tray.  No other tool does it so easily.  At the same time as removing cocoons, nesting tunnels are rid of the majority of mud and other debris.  This make the scrubbing process a lot faster.

Cocoons are scooped out of
nesting trays straight into
 a large bucket filled with water.

Scoop cocoons out of nesting trays over a large bucket filled with water.  After about 30 minutes, the water has softened the dirt around cocoons and the dirt drops to the bottom of the bucket.  This is the first step in cleaning cocoons.

Dave M. uses a sieve for the next step.  Using a sieve, a soft stream of water is sprayed over cocoons held in a sieve.  Water removes a lot of debris from cocoons.


Once cocoons are washed, and dried, cocoons can be candled
A bleach wash, drying, screening and candling are the final stages of cleaning cocoons.

A soft stream of water washes a lot of debris from cocoons held in a sieve.
This idea came from Dave M. from  Port Alberni, BC

Releasing cocoons for emergence by the 1000's

Small and large release box  with
piano hinged lids

Small release box with simple lid.  Plastic containers are
good for interim storage, but predation dictates a
 more sturdy wooden box.
 Hazelnut is in bloom, bulbs are poking out of the ground.....spring must be near! (Vancouver BC)

When setting out cocoons in large numbers, safety from predation  has to be a key consideration.

Rodents can chew through plastic and paper.  Dave M.from Port Alberni, BC uses a  box with a piano-hinged lid to hold cocoons.

When spring arrives, mason bees emerge from the box ready to start pollinating.

The small box easily holds 2-300 cocoons.  The larger  box holds about 1000 cocoons.

It is best not to layer cocoons more than 1-2 deep.  More than 1-2 layers of cocoons make it more likely that newly emerged bees pick up the rare mite from cocoons as the bee exits from the box.

Wednesday, February 2, 2011

Blog interest in North America, S. America, Europe, Asia, Eastern Europe and Russia.

Since the beginning of this blog (Dec 12th of 2010) people have visited from 19 countries.  They have requested 1876 Page views. Below is a list of countries that have visited with the number of page views
USA 925
Canada 829
France 27
Malaysia 21
Turkey 18
Germany 11
United Kingdom 11
Australia 6
India 4
Slovakia 3
Israel, Denmark, India, Romania, Russia, Bulgaria, Brazil, Finland and Greece ( less than 3)

I find this interest quite fascinating.  I know there are Osmia species in Europe, Asia, and North America, but I am not sure if Osmia species exist in South America.  Osmia species do not exist in Australia.  If you have a story or questions please let me know.